Lit from Within: May 2012
-->

Thursday, May 31, 2012

Retro Techno Geek

This dotticure is inspired by one from Kayla Shevonne.  I loved the pattern and wanted to see how it would look with 4 different colors.

This is two coats of Milani Pink and Proper.  It's a saturated pink that leans a little towards rose and has a shimmer to it.  This is two coats with no topcoat.

All of the Milani polishes I've tried are very consistent.  Thick, but not goopy, almost 1-coat coverage, and shiny, shiny.  I much prefer this kind of polish texture to the thin, streakyness that I usually get from Essie - at twice the price.


I won a LA Girls dotting set in a raffle at our Beauty Bloggers meeting, and I used the dotting tool with all the polishes for this mani.  First up was Milani A Rose Milady.  I used the largest side and spread out the polish a little farther than the initial dot.  I started using the dotting tool for the lines, but switched to a thin brush.


Then I used the LA Girls Polka Dot Blue inside the pink circles, and added other circles on the sides,


I connected blue lines to the dots and then dotted the Milani A Rose Milady inside the blue.


Right hand:

 I thought maybe the Polka Dots purple polish would look good on top of the other dots.


I love dotticures, and this is a fresh take on it.  The LA Girls set is a great way to get started.  The dotting tool is equivalent to any other dotting tools I've tried - easy to use and clean, and double-sided for different sized dots.  The instructions say to load the tool straight from the brush, but I'm not that coordinated, so I used a small plastic palette.  I suppose it might waste some polish, but it seemed easier than trying to hold the brush and loading the tool.  It doesn't take much to get proficient at dots, so it's a gateway mani to nail art.


The Milani and LA Girl polishes were provided to me for review.  Nonetheless, the opinions presented are my own, and as unbiased as possible.

http://www.milanicosmetics.com/ 
http://www.lagirlusa.com/

Crack-head

As part of the Central Florida Beauty Bloggers, I was given a sample of Crack Hair fix to try.

WOW.

I have a lot of very thick hair.  It's very curly underneath, and straighter towards the crown.  It's going through a growing out phase right now - I was using a chemical relaxer on it to tame the curls, but decided to go back to curly.  So, normally, my hair has a mind of its own; some curls, some doesn't, and because of the humid Florida summer, it's usually a bit frizzy.

Not with Crack Hair Fix.


This pix was after I combed it out, so there are fewer curls.  I only like to wash my hair every 3-5 days, so having a product that works beyond one day is important to me.  The first time I used Crack, the second day my hair was a little dry, so I spritzed on some Argan oil product.  Bad idea - the next day it was so thick and itchy I had to wash it all out. 

The second time I used it, on the second day when it was dry, I dampened my hair a little bit with water on my hands and applied a little more Crack to the ends.  Much better.  Lesson learned - if you're going to use Crack - and you should - then don't mix it with oil products.


I loved it so much, it inspired a mani. I used Zoya Robyn, Sally Hansen Mellow Yellow, and Milani Fuchsia Fierce.


This product was provided to me for review.  Nonetheless, the opinions stated are my own, and as unbiased as possible.

https://www.facebook.com/CrackHairFix/info
http://www.prolocksusa.com


Wednesday, May 30, 2012

All kinds of beauty - eyes, lips, nails

When I started this blog, I wasn't sure exactly what my focus would be, but I fell in love with nail art, and almost all my posts have been on that bent.

I have a mani today, but I also have a makeup review for you, too!  I was provided with some Milani products, and I want to share them with you.  I used to be a makeup counter snob, and bought exclusively from the department store fancy counters.  I've since bought a clue and found that there are all kinds of great finds in the drugstore makeup aisles.

My friend Fresa is showing you the products I used first:  Milani Shadow Eyez in Aquatic Style and Royal Purple, Baked Eyeshadow in Green Fortune, and Haute Flash lipgloss in In A Flash.


I decided to do a bolder look for me - 2 different eyeliners, green shadow.  But my way is a little more subdued.  You could certainly apply the eyeshadow wet for more saturated color.  This was a daytime look to go shopping, so I was going for fun, not bold.

I love the Shadow Eyez.  They are so easy to use, creamy, smooth, and they stayed on all day for me.  I did another look in Champange Toast and Brown Deluxe, where I wore the champagne color all over and the rich brown as a liner and in the crease.  The picture was lit weird, and I looked green - sorry, still learning - but I loved the look.

You can wear these as liners or all-over eye color, so they are perfect for travel, when you don't want to risk breaking a shadow palette.


You can see the green a little better in this pix.  I did apply color from all over the palette, but then tried to focus some of the blue in the corners. I had a little trouble getting the color I wanted from the crazy mix of colors, but I still liked it.  It's just not a look I would do every day.


I wasn't sure I was going to like the Haute Flash gloss - but I loved this color.  I originally tried the hot pink version, Flashy, but it looked too much like cotton candy.  I also tried the Golden Flash and Crystal lip gloss in Fascinante, both golden glosses.  I have a natural pink tint to my lips, and neither gloss looked good on me.  Like VNL on my nails, I get VLL on my lips with some colors, usually golden ones, and I don't like it.

This is the In A Flash, no liner.  Pretty, and long-lasting, with a light, pleasant fragrance.  I'll definitely wear this again.  Can you see the shimmer?


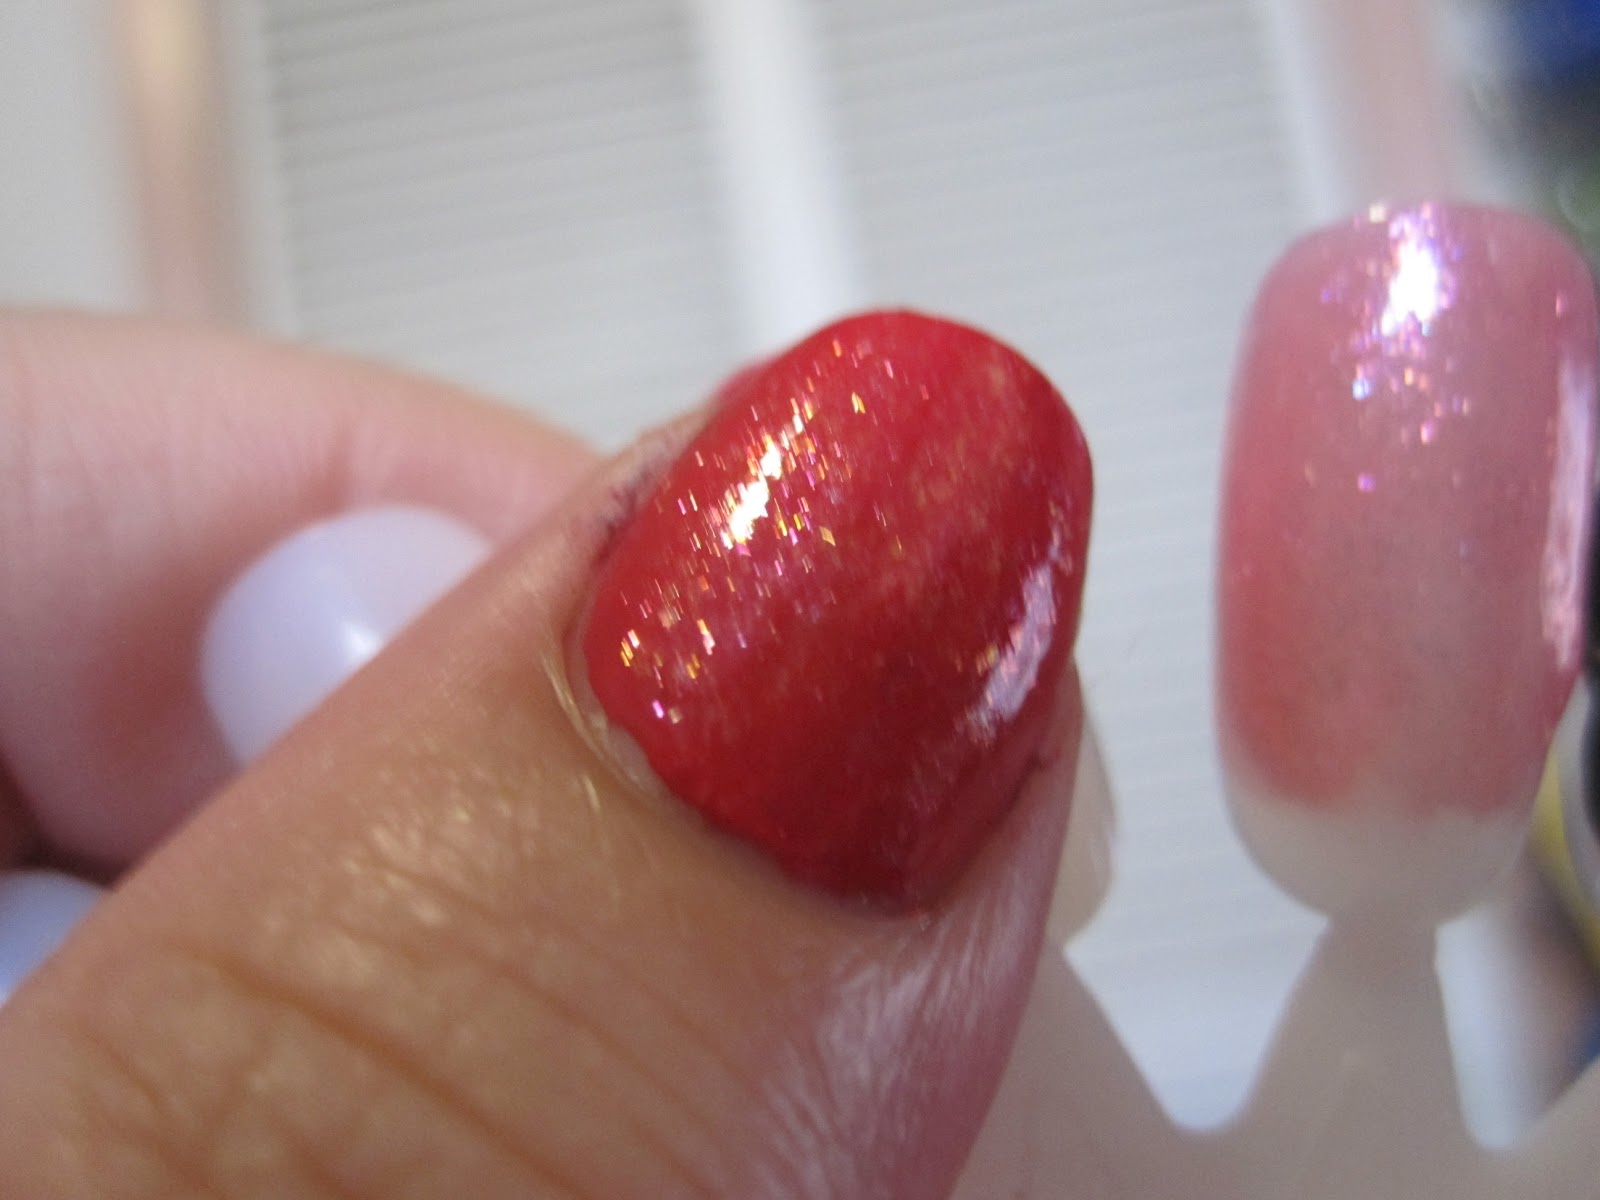
I paired my look with Del Sol Foxy, a color changing polish, that went from pink to purple.  I used a Claire mood polish on the tips and accent nail.

Pink:


You can see the color changing here.  The pinky is still pink.  The ring finger and tips are Claire's mood polish - which didn't change at all  - not in the sun, not in hot or cold water, nothing.  Very disappointing.


Full-on purple in the sun:


Some wild colors and color-changers for me.  It was a lot of fun to use makeup to go outside my comfort zone and try something new. 

I hope you'll try something new today!

These products (aside from the Claire's polish and my own mascara, which I purchased) were provided for me for review.  Nonetheless, the opinions stated are my own and are as unbiased as possible.

http://www.delsol.com
http://www.milanicosmetics.com/

Strawberries, two ways

This mani makes me think of a strawberry sundae with chocolate sauce and sprinkles.  I started with 2 coats of Milani Pink Slippers, a beautiful light pink with a slight shimmer.  Then, I added vertical stripes in Milani Morning Coffee, a medium brown, and Milani Chocolate Sprinkles, a dark espresso brown with copper microglitter.  Chcolate Sprinkles is a CVS exclusive color.  After seeing a swatch of it, I made a special trip to my local CVS to get it!


I added a border in Milani Chocolate Sprinkles all around the nail, except for the tip.  I think that the vertical lines make my nails look longer.


Right hand:


And a bonus strawberry mani!  Jackpot!

This is two coats of Milani Fuschia Fierce.  Must be a cousin of Sascha Fierce. It is bright, in-your-face, take-no-prisoners, almost neon color.

Look at that shine.  It almost looked shellacked.


I thought it would pair nicely with LA Girls Fruity in Strawberry Delight.


I swatched 2 coats on a nail wheel so you could see it's color.  It's great for layering - I think it would take too many layers to be opaque.  On the thumb, it's over 2 coats of the Milani Fuchsia Fierce.


It smells strongly of artificial strawberry!  My dog Banjo was crazy for it.  He kept trying to lick my fingers, searching for the food, but he didn't like the taste of the polish.  It was so confusing for my poor pooch for something to smell sooo good, but taste sooo awful!


Looks like it *could* be tasty, though, right?


The Milani and LA Girl polishes were provided to me for review (Although I already owned a bottle of Milani Chocolate Sprinkles that I had purchased beforehand.)  Nonetheless, the opinions presented are my own, and as unbiased as possible.

http://www.milanicosmetics.com/ 
http://www.lagirlusa.com/

Tuesday, May 29, 2012

That's a Greyt Teal

I loved doing every step of this mani!  I started off with two great colors:  Sonia Kashuk Taunting Teal and Milani Just Greyt.

Taunting Teal is a dark, dark teal - but look at that shine!  This is 2 coats, no topcoat.  Just Greyt has a gorgeous, thick, shiny formula that covered in one coat, but I did 2 out of habit.  This is my favorite grey so far.


I decided to do flowers in the opposing colors - grey on the teal nails, teal on the grey nails.  Then, I added a little holo glitter to the flowers with Color Club Worth the Risque.


 I really liked this simple flower mani.  Later on, I decided to practice some filigree work.  The Sonia Kashuk polish works well for nail art.  The Milani is a little thick for delicate work.  As you can see, I was able to do some, though I still need a lot of practice with my non-dominant left hand!  The Milani has a great formula for nails - thick, opaque in one coat, and dries fast.  Not as great for nail art for a newbie like me that needs more time and a more forgiving medium.


 Ir's a little busy, but I was just practicing! I love this color combination.

Monday, May 28, 2012

Bettina BOLD!

One of the brands I was most excited to try from our Central Florida Beauty Bloggers' meeting was Bettina.  One of our members has a great relationship with them and exudes pride when she talks about this brand.  It's infectious!

This is Bettina Sherbet.  I was expecting a softer shade, a creamsicle color... nope!  Sherbet is a bright, beautiful, glossy orange.  This is two coats, no topcoat.


 For fun, I sponged on some of Milani Fuchsia Fierce on the tips for a fiery gradient.


 And, I added a bit of a Color Club iridescent pink to the accent nail.  I should have stopped myself.

Topcoat finishes blending everything and smooths out the sponge marks.  Bright summer mani!


Have you tried Bettina yet?

Another take on cherry blossoms

This was inspired by another lost Pinterest nail that featured orange and taupe/grey flowers on branches.  I went with a peachy mani and did the flowers on 2 accent nails.  The nails are a combination of a Jazz polish and Revlon Peachy Keen, which is also the base for the accent nail. The orangey flowers are China Glaze Brownstone mixed with a tangerine color, and the taupe flowers are Zoya Petra mixed with an opalescent Jazz polish.

I used a striping brush, and a dotting tool to make this pattern.


Right hand:


It totally matched the shirt I wore that night for our Girls' Night Out.  Yep, that's the Atlantic ocean behind me.  Sometimes, it's nice living in Central Florida.


Sunday, May 27, 2012

Electric Blue Bugaloo

At the Central FL Beauty Bloggers' meeting, we were given a polish from the newly rebranded Miss Professional Sation polish line.  I was so excited to get Electric Blue - I love blue polishes!

I had some trouble with this polish, though.  It would.not.dry.  I painted my nails...then I bumped it.  I'd fix it.  I'd bump it again.  I took it all off and redid it.  Still wouldn't dry. I knew I was going to use glitter, so I didn't want to put topcoat on.. maybe I should have.  But even later, after I put on the glitter... hours later.. it just squished off my nails.

Sure is pretty, though.


I dabbed on some Wet n Wild Party of Five glitter.  Made me think of a bunch of Mylar birthday balloons!  Very festive.


No pix of the right hand... I was too frustrated!  I will try again, though - I really love this color, and I'm willing to believe that maybe I was just having an off-polish day, especially after having a good experience with the red glitter polish from Sation.

Have you tried any of the new Sation polishes?  Any that just wouldn't dry?

The Wet n Wild and Sation polishes were provided to me for review.  Nonetheless, the opinions presented are my own, and as unbiased as possible.


http://www.misspn.com/index.php/site/collections#/main 
http://wnwbeauty.com/ 

Owlets

I saw these cute nail owls from Nail Polish Wars, and decided to try my own version.

First, a coat of nude sheer all over the nail, and when that dried, I applied the reinforcement stickers for the half-moon mani and painted different colors on each nail.  The right hand got the same colors.


I have really small nail beds, and my nails are not very long, so I wasn't sure how I was going to fit all that detail on my nails.  I decided to dot the eyes in first, so I could space out where the belly would go.  A lighter, complimentary color was used for the belly.


I used the dotting tool to make smaller black dots for the owls' eyes, and used the owl's body color to make the belly dots. I also used the dotting tool to extend the ears of some of the owls.


 Beaks added, cleaned and topcoated!  Aren't they cute?


 Right hand:


Matching owl mug from a friend.  Perfect match! :)


These days, I rarely wear a mani more than a day - this one I kept for 3 days, I think.  I loved it that much.  Hubby said this was his fave mani so far.  High praise, indeed!
Related Posts Plugin for WordPress, Blogger...